How to Stop Your CPU From Making High Pitched Noises
Recently I noticed a high-pitched noise coming from my computer. It was a pulsating noise which lasted for less than half a second and occurred every second. My first thought was that this noise was coming from one of the fans in my computer, but I found that odd because all of my fans are brand new. After finally going crazy from the annoying noise, I opened the case of my computer to try to find the source of it. I found that the noise was, surprisingly, coming from the CPU!
I don’t know how it was making the noise (do electrons scream?), but I found out why . As it turns out, the source of the problem was that the CPU was being placed into an “idle” mode by Windows. In this tutorial I will show you how to disable the idle mode of your CPU, which instantly made the noise go away for me, permanently.
TL;DR:
- Open
regedit - Navigate to this path:
HKEY_LOCAL_MACHINE \ SYSTEM \ CurrentControlSet \ Control \ Power \ PowerSettings \ 54533251–82be-4824–96c1–47b60b740d00 \ 5d76a2ca-e8c0–402f-a133–2158492d58ad
- Change
Attributesfrom1to0 - In Windows’ Power Settings, change the advanced settings of your plan, find Processor power management -> Processor idle disable , and set it to Disable Idle. The noise should disappear after hitting OK .
In-Depth:
Step 1 — Open Regedit
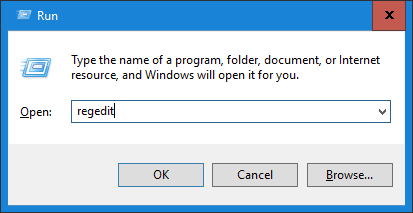
This is easy enough. Make sure you’re running as an Administrator, push Windows + R on your keyboard, and type in regedit . Push Enter and regedit should open.
Step 2 — Navigate within regedit
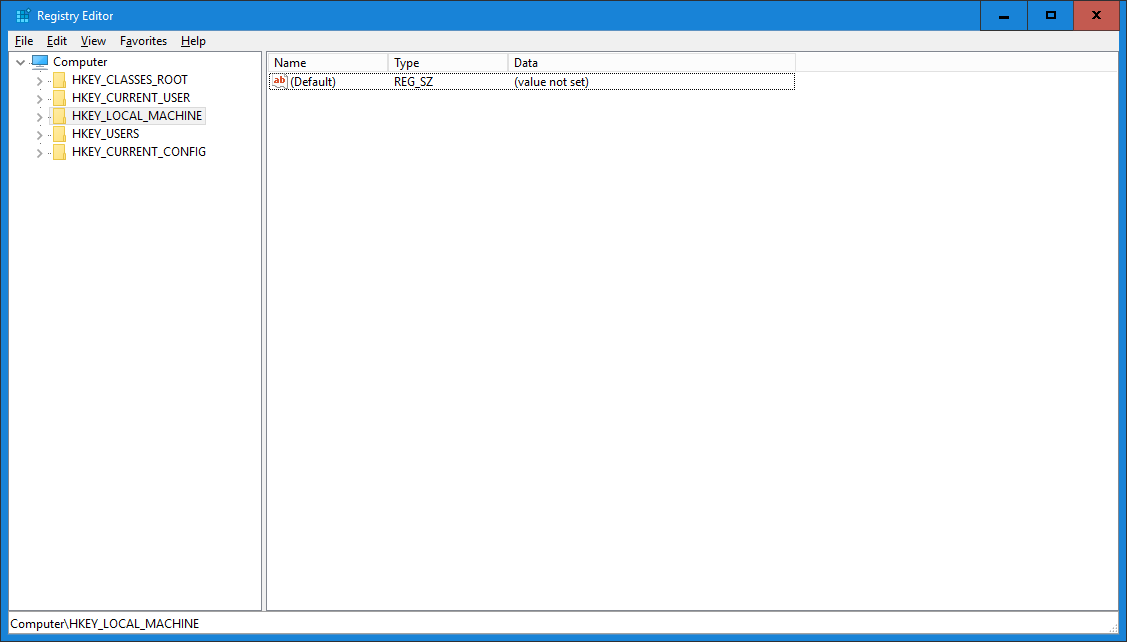
Pay close attention to the names in this step. Now that regedit is open, you need to navigate to:
HKEY_LOCAL_MACHINE \ SYSTEM \ CurrentControlSet \ Control \ Power \ PowerSettings \ 54533251–82be-4824–96c1–47b60b740d00 \ 5d76a2ca-e8c0–402f-a133–2158492d58ad
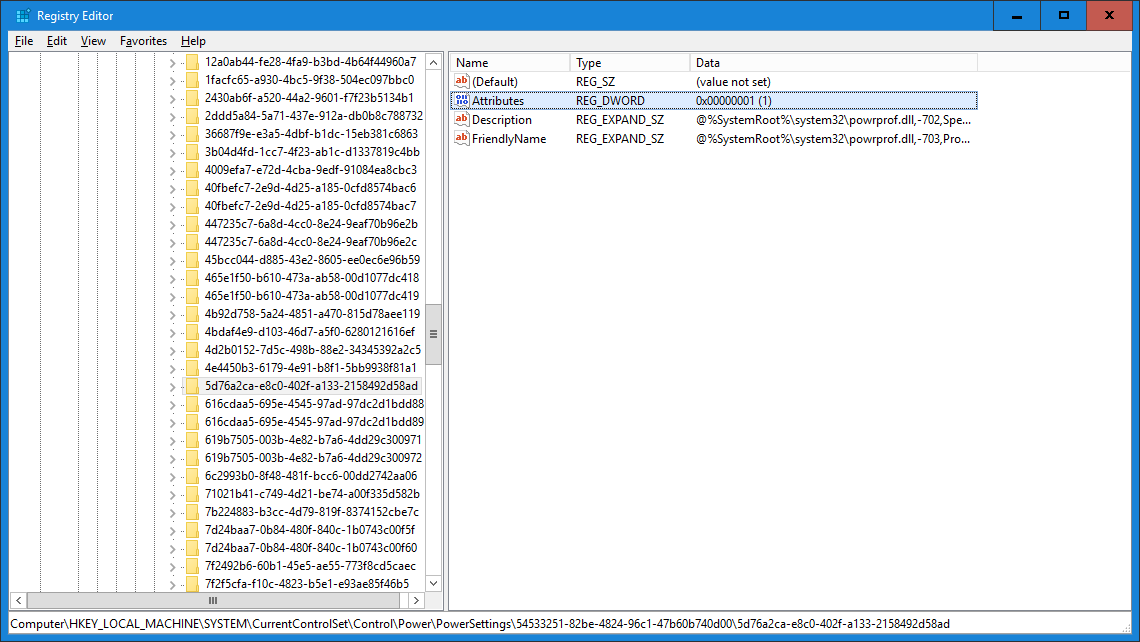
Make sure to click on the name of the last key (5d76a2ca-e8c0–402f-a133–2158492d58ad) — not the arrow to the left of it. You should now be able to see a REG_DWORD value on the right side of regedit called Attributes .
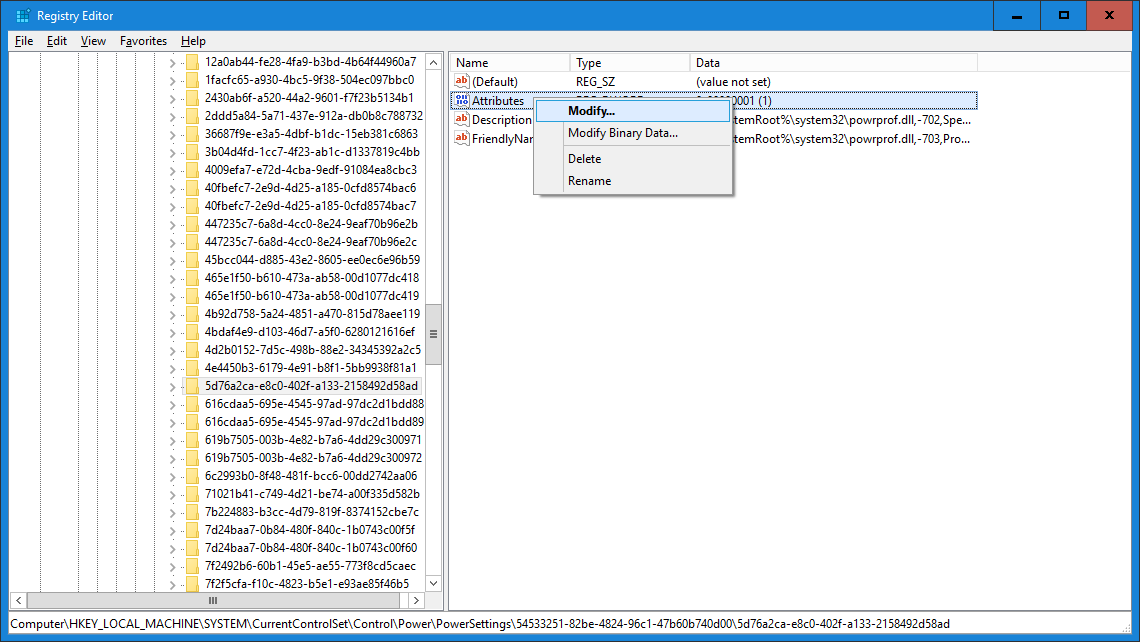
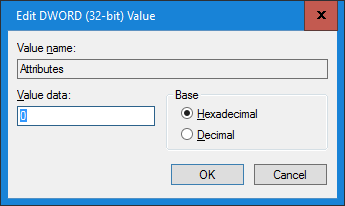
Step 3 — Change Attributes Value
Right click on the Attributes value, and select Modify… Change Value Data to 0 , and click OK . You can now close regedit .
Step 4 — Change Windows Power Settings
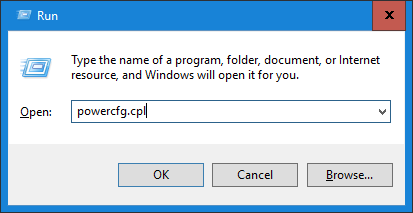
Now we need to change the power settings of Windows so that your CPU doesn’t idle. Open the run dialog again using Windows + R . This time, type powercfg.cpl and hit Enter.
Windows’ Power Options should now be open. Just follow these steps:
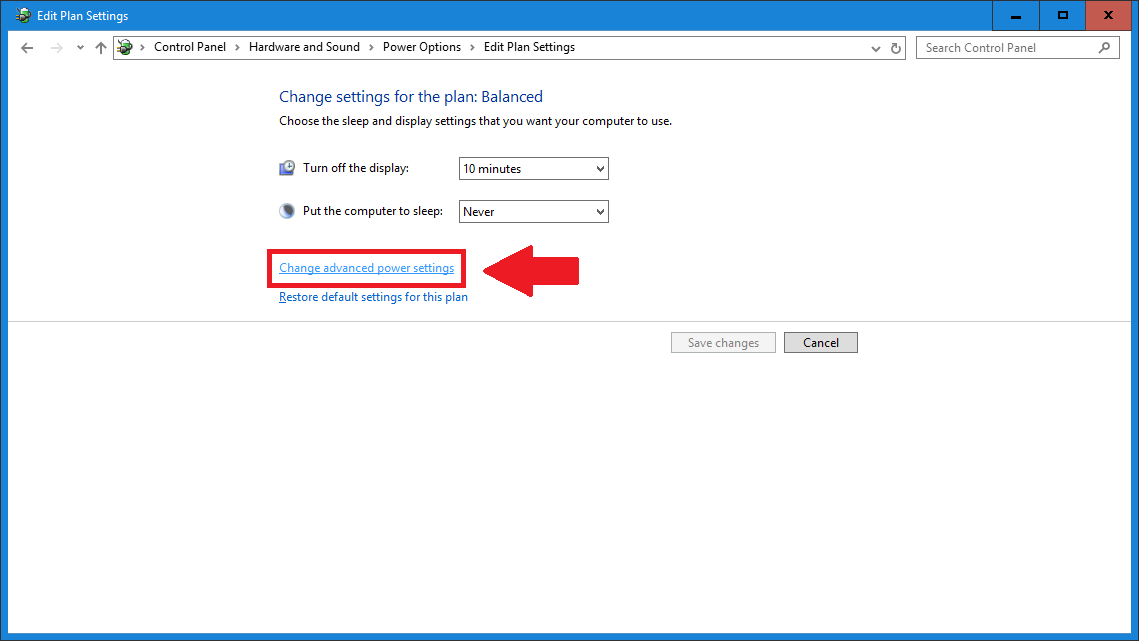
- On whichever power plan is selected, click Change plan settings . If you use multiple plans, you can repeat this for each plan.
- On the next screen, click Change advanced power settings .
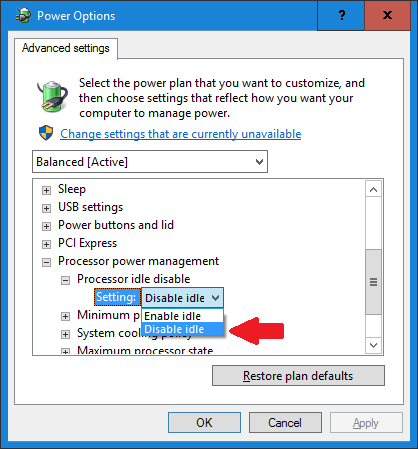
- In the window that pops up, find Processor power management , and double click on it.
- Find Processor idle disable , and double click on it.
- Change the Setting from Enable Idle to Disable Idle
- Click OK and the noise should immediately stop.

I hope this worked for you! I can finally work peacefully now that this noise is gone.